Hello everyone! I am so excited because today I am hopping along with a fabulous group of talented designers sharing projects created with new products from the July Waffle Flower release. Thank you to Nina, the owner of Waffle Flower, for having me as a guest designer for this release! You should have arrived here from Dana Kirby's blog. If you just dropped in, please head to the Waffle Flower blog to start at the beginning of the hop. Waffle Flower is giving away 3 gift certificates to the Waffle Flower store. Leave a comment on the Waffle Flower blog and each blog on the hop for a chance to win. You can find all the details on the Waffle Flower blog. I have four cards to share with you today. (I have an affiliate linked list of supplies at the end of this post. Using my links allows me to earn a small commission at no cost to you. Thank you for your support.) Let's get started.

This first card was created with the new Layered Winter Bird die set and a sentiment from the Merry Christmas Duo stamp and die set. Love this new stamp set. So very versatile. There are two large Merry Christmas sentiments in the set and both have matching dies. Many of the sub-sentiments can be used on their own like I did with this one. I decided that I was going to have my birds be cardinals so I die cut them from red, yellow and dark brown cardstock. I assembled them and then added a bit of shading with a dark (actually called Cardinal!) red Copic marker. The little branches they are sitting on are part of the die set. Those were cut from dark green cardstock. A panel of kraft cardstock was die cut with a rectangle die, the birds arranged where I wanted them so I could place the sentiment and stamp it. I used VersaFine CLAIR Acorn ink for the sentiment. I adhered my birds and branches to the panel and then added it to a red cardstock base. A few little red gems were added for a bit of sparkle.

For this card I used the new Layered Poinsettia stencil set. Isn't it gorgeous? I inked up one layer using Delicata Golden Glitz ink and the other with my favorite red ink, Cherry Cobbler from Stampin Up! I made sure to let the Golden Glitz ink dry before adding the red ink so there was no smearing. I finished off the card with the scripty Merry Christmas sentimetn from the Merry Christmas Duo stamp and die set. I stamped the sentiment in watermark ink on vellum, applied gold embossing powder and heat set. I then die cut it with the matching die. May add a sub-sentiment at a later date.
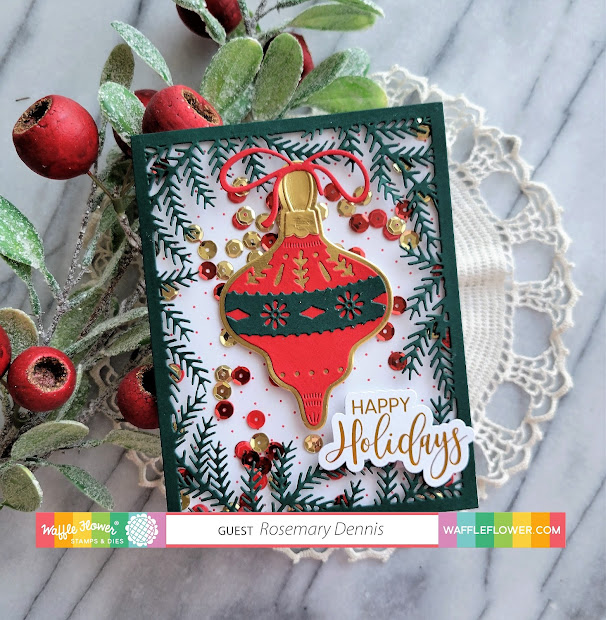
This card uses the new Layered Ornament die set as well as the new Pine Branch Panel die. Again, I used traditional Christmas colors of red, green and gold. I had all those supplies on my desk so I just decided to keep going with them. That is until you see my last card! I die cut the panel and the ornament from the various cardstocks you see. I put the ornament together and then I was a bit stumped as what to do next. A traditional shaker? Nope... a edge to edge shaker! I used some patterned paper from the Waffle Flower Half-Half Dot Christmas 5.5 x 8.5 pad. I trimmed out the piece I wanted and then created my edge to edge shaker around it. I added red and gold sequins and then sealed up my shaker. I adhered the frame using glue just around the edges so the little pine branches pop up slightly. I added the ornament and a die cut sentiment from the new Essential Christmas foiled die cuts.
Now for my "odd duck" card, lol!
For this card I went with a blue, white and silver color scheme. The stars background was created using a new hot foil plate called Scattered Stars. There is also a Scattered Stars die. It doesn't look like it in this photo, but I did foil the stars with blue foil. I have a photo below that captures the blue foil perfectly. After foiling my white cardstock I die cut it down with a smaller rectangle die. Aren't those little ornaments adorable? They are from the new Small Ornaments die set. There is a solid ornament and then an ornament with the detailing so you can layer them. I used silver for the solid and dark blue for the detail layer. The string were cut from silver. I adhered my ornaments and then added a sentiment from Merry Christmas Duo that I embossed in silver on vellum. I used the smallest Waffle Flower Nesting Rectangle Frames die to create my label.


