Hello and happy March! Can you believe it is already March? Where is the time going?! Spring isn't quite here, yet, but I'm definitely in a spring-like mood! With that in mind, I decided to play along with the Simon Says Stamp Monday challenge of fur or feathers. And I will add this to the Simon Says Stamp Wednesday challenge of anything goes. The amazing Emma William, who is on SSS Monday challenge design team, created a beautiful tag featuring a bird. Her tag is a bit more moodier than mine, but I was 100% inspired by her tag. Take a look at what I made.
Showing posts with label distress crayons. Show all posts
Friday, March 1, 2024
mixed media tag...
For the bird I used my favorite Backyard Wren die set from Memory Box. The twiggy wreath, feathers blossom stem and budding stems are from the Greetery. For the wreath I sprized heavy stock with walnut stain and Crooked Broomstick distress mica spray. I spritzed on water to move the colors around. Once the panels were dry I die cut them with the wreath die and two dies that cut twiggy branches for layering on the wreath. There is a wreath stamp that coordinates with the wreath base and I used that to stamp on some Scorched Timber distress ink. Once that was dry I adhered on the branches. The other pieces were inked with distress oxide inks in Speckled Egg, Pumice Store, Vintage Photo, Spun Sugar and Bundled Sage. I assembled everything, let them dry and then adhered them to the tag as you see. I finished off the tag with some chunky twine and a small key that I tried to grunge up with some grit paste and ground espresso distress crayon. A small pin was used to attach the key to the twine. I'm super pleased with how my tag turned out.
Saturday, December 17, 2022
sending hugs...
Hello! Popping in with a quick share. I made this card for several challenges: Freshly Made Sketches, Color Throwdown and Simon Says Stamp Wednesday challenge. I used a mix of products and even did a little bit of mixed media! Take a look.
Thanks for stopping by and have a lovely day!
Thursday, June 23, 2022
Spellbinders June Release Part 3 - Flea Market Finds Collection
Hello! Hope your week is going well. We are finally having some summer like weather here in my corner of the Pacific Northwest! Hoping it will stick around for a while. I'm popping in today to share several projects that I made with a brand new collection called Flea Market Finds that was created by Cathe Holden for Spellbinders. If you love vintage, you will absolutely love this collection! There are stamps, patterned papers, stickers, die cut pieces and a beautiful stencil set. (Affiliate linked supplies listed at the end of this blog post. Using my links allows me to earn a small commission at no cost to you. Thank you for your support.) Let's take a look at my first project.
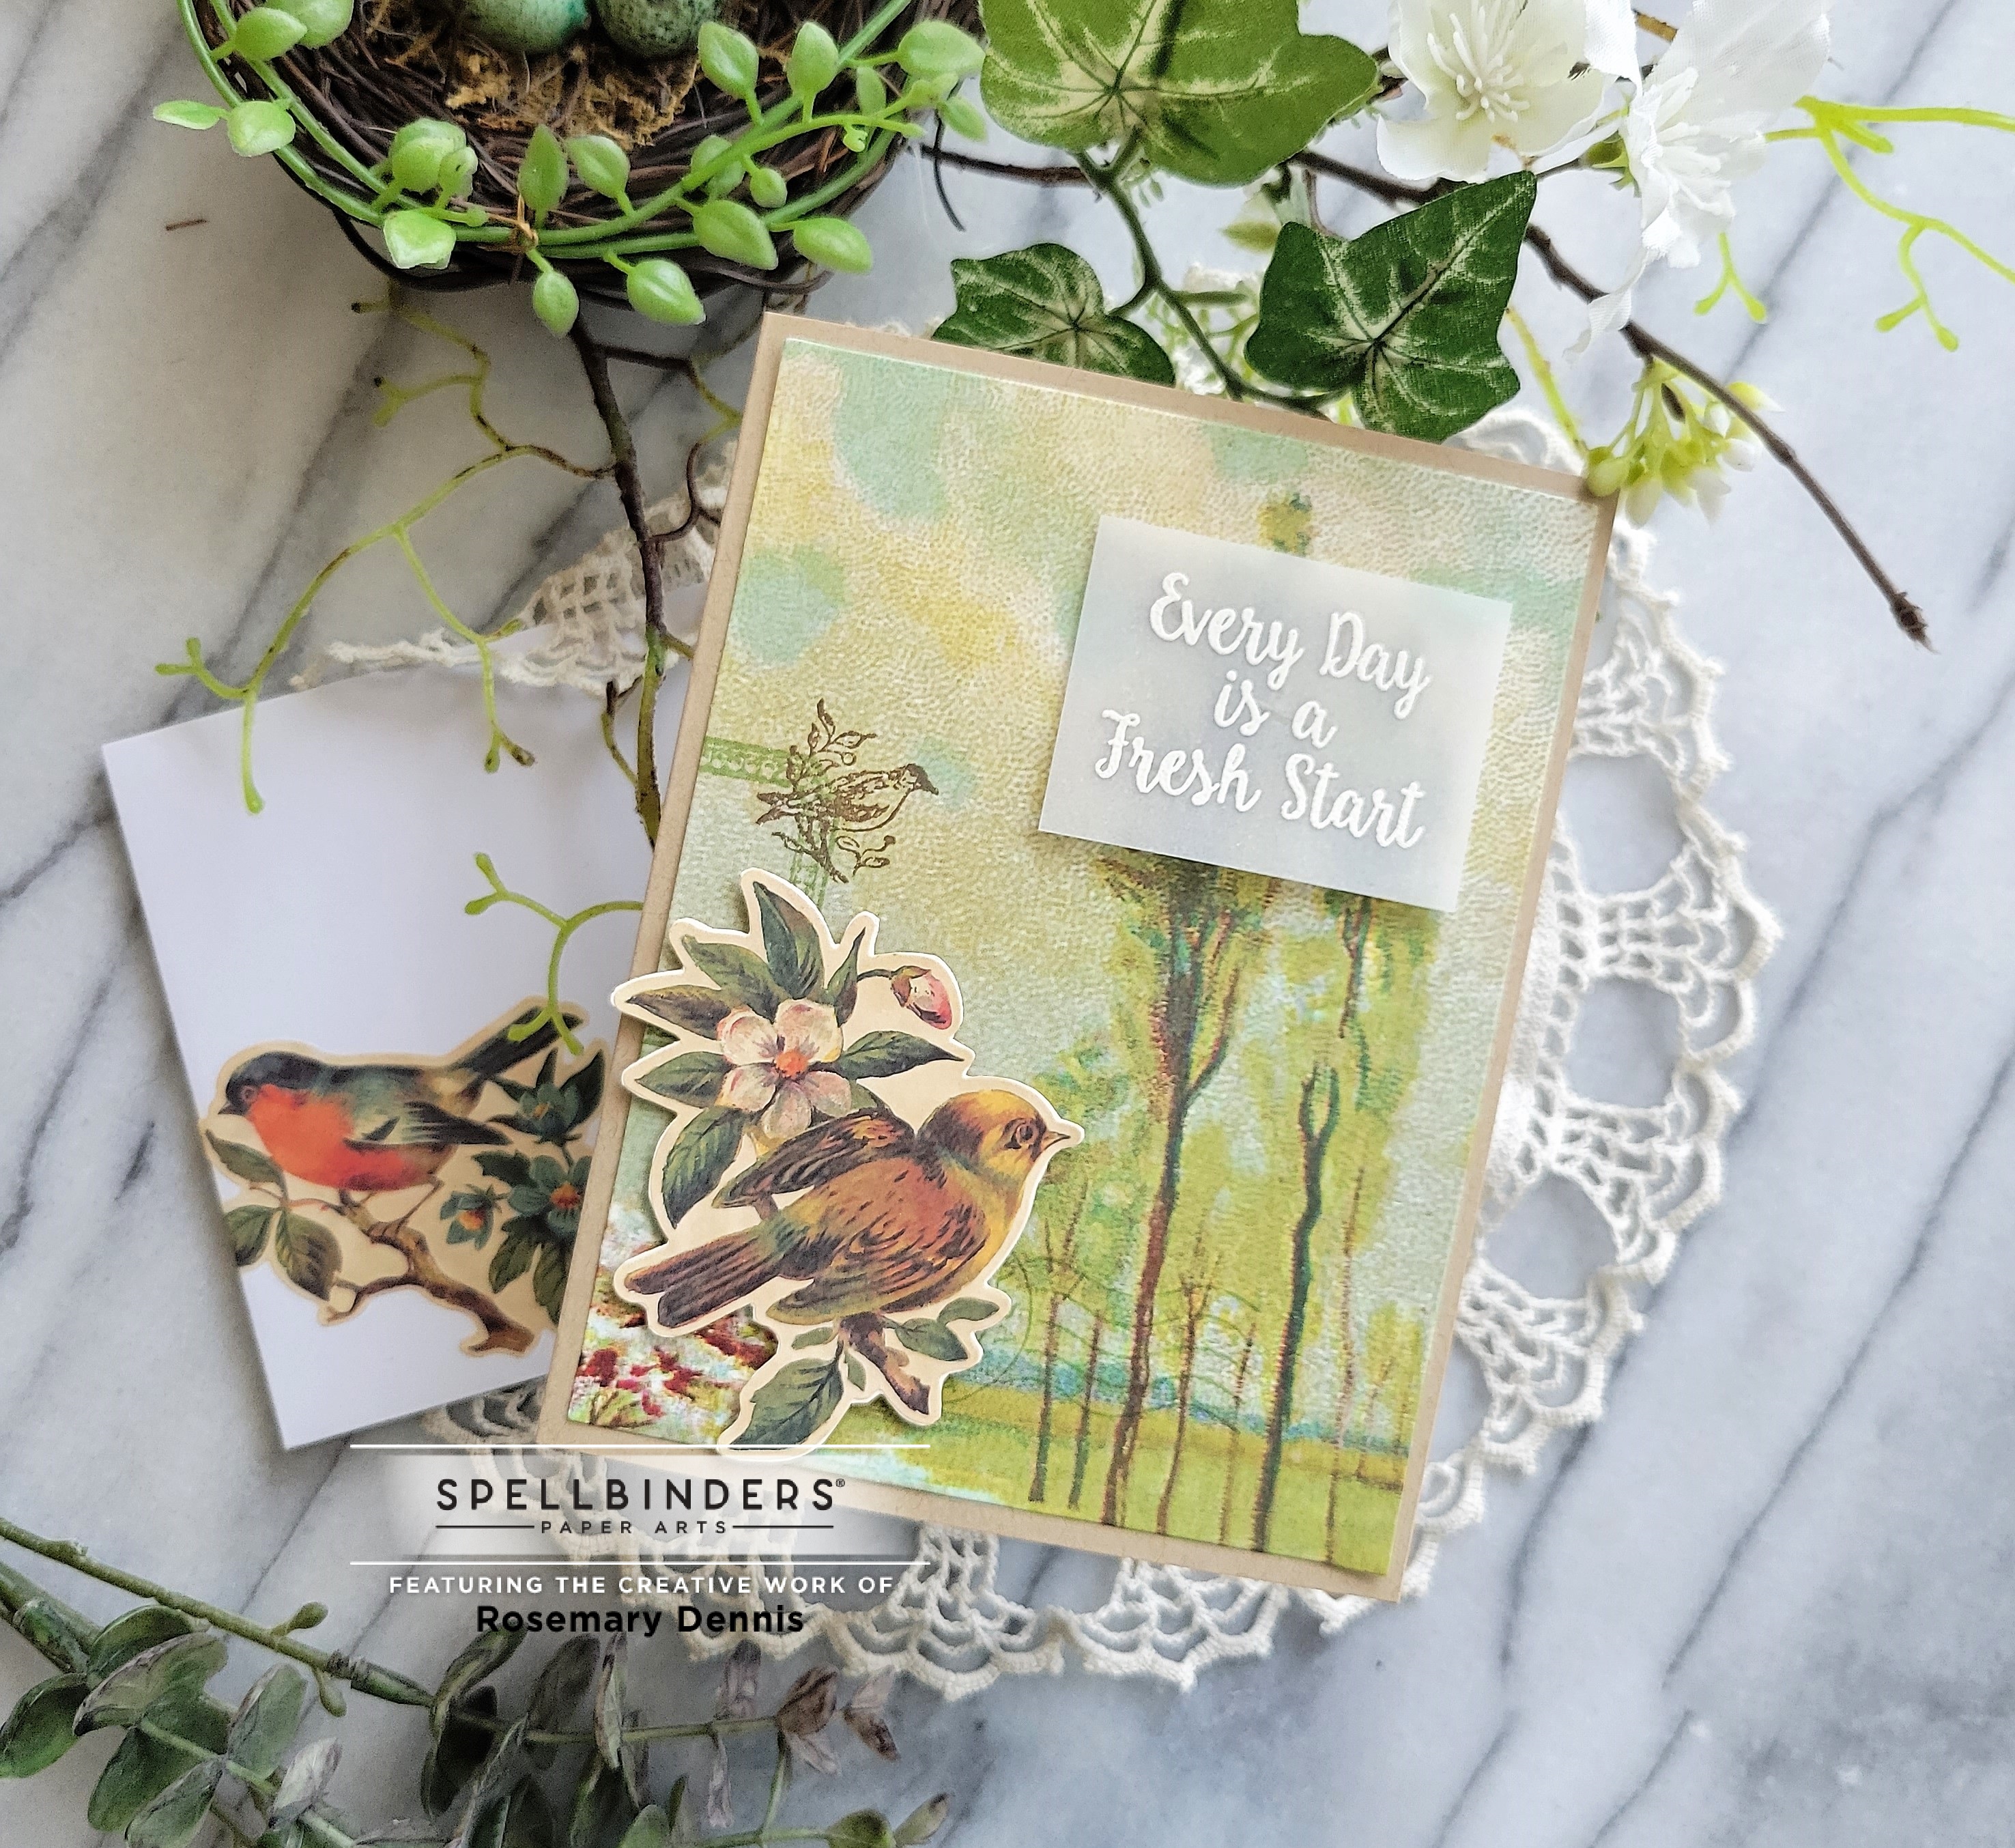
This next card was made with papers from the Blue Green Palette Sampler 6x8 paper pad, the Handle with Care stamp set and stickers from the Etiquettes sticker book. I die cut the patterned paper and then stamped the images using a medium green ink and a brown ink. The sticker was adhered to thin cardstock to give it more stability and then trimmed out. I popped that up over the stamped images. The sentiment was stamped in watermark ink on vellum. Cream embossing powder was applied, heat set and then I trimmed out the sentiment. I popped it up using rolled up glue dot. I used another sticker for the coordinating envelope.
My final project came about as I flipped through the Floral Palette Sample 6x8 paper pad. There are so many beautiful floral patterns in this pad, but the one with the moth (or is it a butterfly?). Since there are two sheets of each pattern I was able to use both to create my project. I had the Ideaology mini frame just waiting for me to use it for this project. I postioned the back panel on the paper so I could trim out the section with the moth. I then adhered that piece to the panel with Distress Collage Medium. I trimmed out the moth and the flowers from the second piece of the same paper. I trimmed into the sections of the wings so that I could use foam tape to create a little lift in the wings. The frame was painted with a combination of light yellow and light teal paints. Once it was dry I knocked back the color a bit with Ground Espresso distress crayon. Then I added Gilded Foundry wax to the corners and heat set it to bring out the gilding. I also added a few little splatters to the main panel and heat set those as well. I added a bit of glitter to the moth and the flowers using glitter glue. I adhered the flowers to the panel using Distress Collage Medium and foam tape. I then adhered the frame to the panel also using Distress Collage Medium. Once the frame was secure to the panel I added the moth, again with Distress Collage Medium and foam tape. The larger wing sections were also adhered to the frame.
Here is a closer look at the glitter on the month, as well as some of the gilding from the foundry wax. To finish the piece I used long stickers from the Etiquettes sticker book around the edges. You can see one of those stickers in this photo. I had a lot of fun creating this piece. I hope you like it.
Affiliate linked supply list:
Thanks for stopping by and have a lovely day!
Friday, July 5, 2019
floral cards...
Hello! Hope everyone in the USA had a wonderful and safe 4th of July! I'm popping in with a couple of cards that I made over the last few days. First up is a card that I made for the Color Throwdown and Freshly Made Sketches challenges. Back in May I won a gift certificate from Pinkfresh Studios and purchased the beautiful Hanging Florals stamp set and matching Hanging Florals dies. I die cut the main image from Canson watercolor paper and then stamped the die cut with images in VersaMark Onyx Black ink and then watercolored with Distress Crayons in Festive Berries, Fired Brick, Crushed Olive and Peeled Paint. I die cut some white cardstock with the largest Stitched Dot rectangle from Jillian Vance Design and then adhered the image to the panel with foam dots. The sentiment was embossed on vellum with WOW! Embossing powder in black and then trimmed down to fit the card front. I used Nuvo Deluxe Adhesive and medium Zots that I rolled up to adhere the vellum to the image. The panel was adhered to a light gray cardstock base and then I added some tiny Pretty Pink Posh jewels in white, silver and clear to the image for a tiny bit of sparkle. (Compensated affiliate links used when possible at no cost to you.)
The second card I'm going to send off to this month's Flower challenge to use pastels. I colored up the Missing You Peony from Colorado Craft Company's Big & Bold line with my ZIG Clean Color Real Brush markers after stamping the image with VersaFine CLAIR Morning Mist on smooth Bristol cardstoThanks for stopping by today!
Subscribe to:
Posts (Atom)